
BMacW
Established
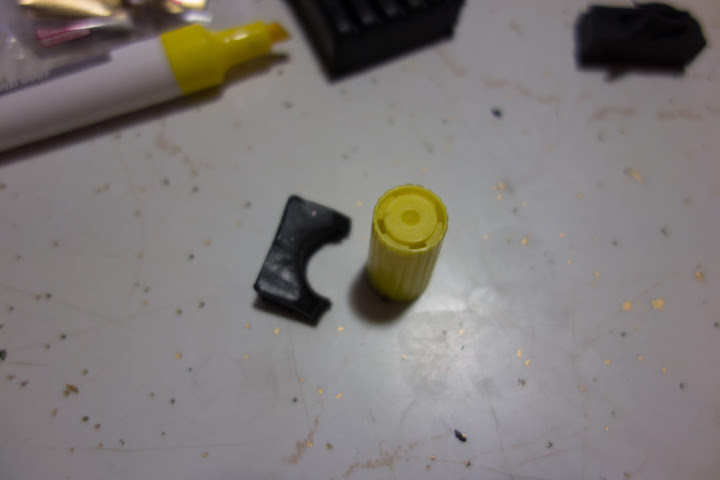
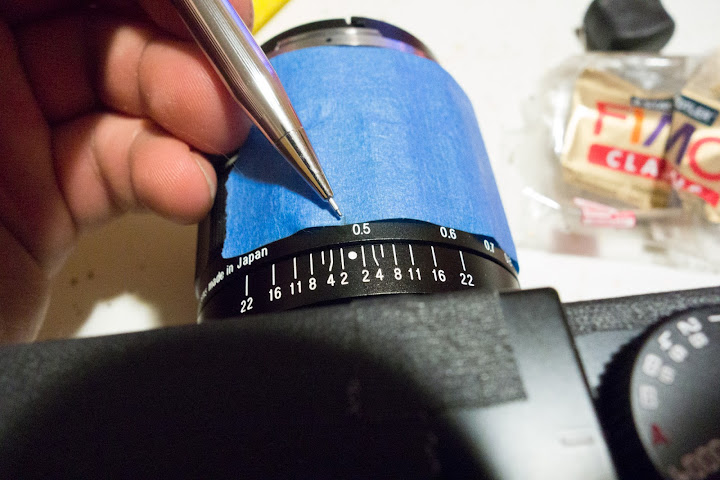
It's pretty straight forward. So I will just list the materials and the rest should be pretty clear from the pictures.
High quality modeling clay. They are not really clay, but can be sculpted like clay and baked in the oven to harden with very little shrinkage.
Use Amazing GOOP to glue it to the barrel of the lens after. This stuff is very strong when cured. I use tape to wrap the tab around the lens during the curing process.
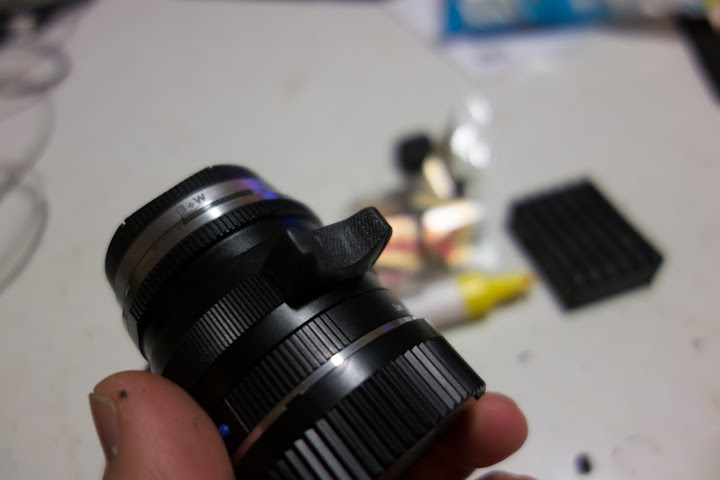
After you take the part out of the oven, it's going to be soft/pliable for a few minutes, so it's not critical to get the mold to a perfect shape before baking. Just hold it firmly against the final location on the lens until it cools and hardens.
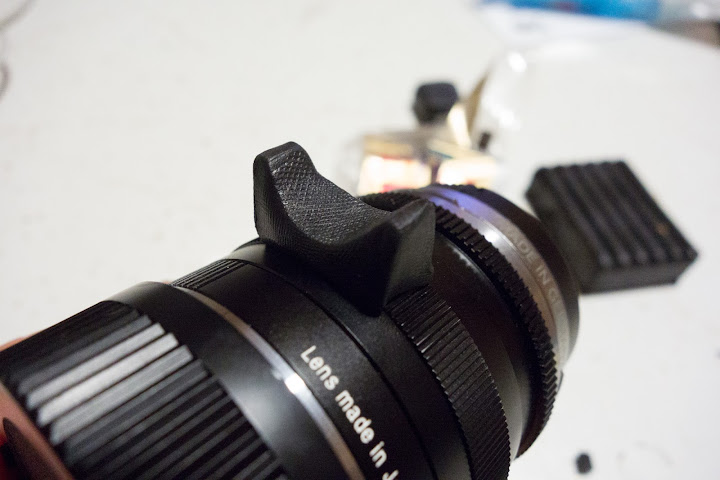
Few notes, you can sand the tab with sand paper to make a smooth finish after it's hardened. ( I didn't do it because I need this to be done for a trip).
For lenses like the ZM 50 f2 with has a pointy focusing tab, this method will allow you to easily form the tab over the complex shape (just press and mold)
You can probably make the two side arms of the tab a bit smaller. ( You can cut and sand it afterwards ).

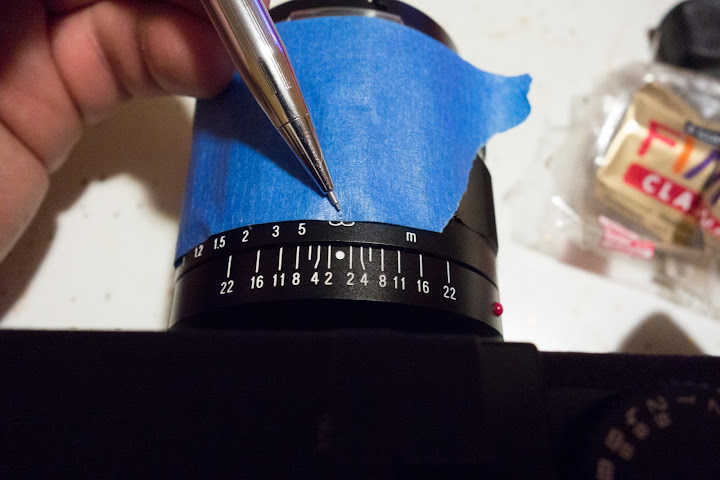
Use making tape to find the center.
Here is a video. As you can see it works very well even on a lens with very long throw like the VC 35 F1.2
http://www.youtube.com/watch?v=WEFdvOyjAPs
High quality modeling clay. They are not really clay, but can be sculpted like clay and baked in the oven to harden with very little shrinkage.
Use Amazing GOOP to glue it to the barrel of the lens after. This stuff is very strong when cured. I use tape to wrap the tab around the lens during the curing process.
After you take the part out of the oven, it's going to be soft/pliable for a few minutes, so it's not critical to get the mold to a perfect shape before baking. Just hold it firmly against the final location on the lens until it cools and hardens.
Few notes, you can sand the tab with sand paper to make a smooth finish after it's hardened. ( I didn't do it because I need this to be done for a trip).
For lenses like the ZM 50 f2 with has a pointy focusing tab, this method will allow you to easily form the tab over the complex shape (just press and mold)
You can probably make the two side arms of the tab a bit smaller. ( You can cut and sand it afterwards ).
Use making tape to find the center.
Here is a video. As you can see it works very well even on a lens with very long throw like the VC 35 F1.2
http://www.youtube.com/watch?v=WEFdvOyjAPs
lam
Well-known
Very cool; I've seen this FIMO stuff used for little sculptures and such. I thought this was going to be the V3 Summicron focusing tab that "heavystar" used to sell..
I still have one left, think i'm going to save it for when I get a ZM C-Sonnar
(for those curious, you can adapt the heavy star one on Summicron-C 40, ZM, and I had mine on a 50 Cron V3) -- link to thread
It appears heavystar doesn't sell them anymore though so a trick like this may be more suitable!
+1 resourceful
BMacW
Established
Very cool; I've seen this FIMO stuff used for little sculptures and such. I thought this was going to be the V3 Summicron focusing tab that "heavystar" used to sell..
I still have one left, think i'm going to save it for when I get a ZM C-Sonnar
(for those curious, you can adapt the heavy star one on Summicron-C 40, ZM, and I had mine on a 50 Cron V3) -- link to thread
It appears heavystar doesn't sell them anymore though so a trick like this may be more suitable!
+1 resourceful
Thanks for the link!
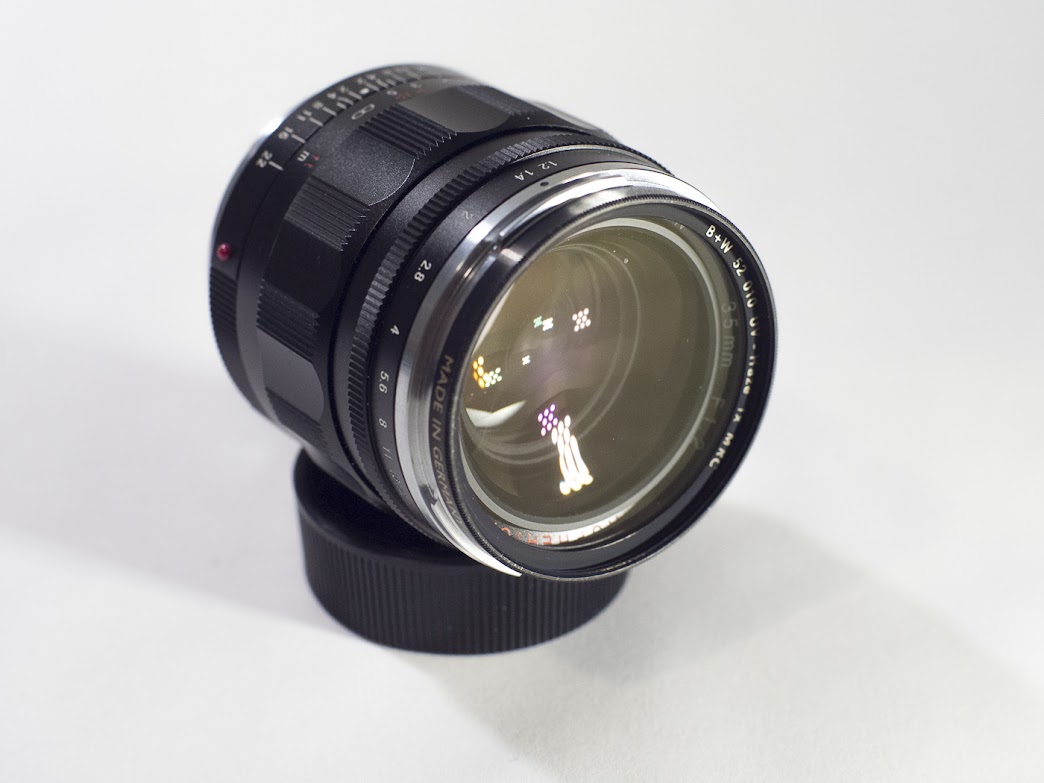
In my case, the ZM 50 has a very small nob for focusing, and the 35 f1.2VC has really big uneven focusing ring. So I figured that I need to have something that can mold to their shapes and contours.
rbiemer
Unabashed Amateur
After reading your post, I decided that my Industar 50 needed a tab and did this:

(boy oh boy, is my house dusty!)

Worked pretty well, and doesn't look too terrible.
It seems sturdy enough but I do wonder how long it will hold up.
Time will tell.
Thanks for the inspiriation!
Rob
(boy oh boy, is my house dusty!)
Worked pretty well, and doesn't look too terrible.
It seems sturdy enough but I do wonder how long it will hold up.
Time will tell.
Thanks for the inspiriation!
Rob
kzphoto
Well-known
As an add on to the center finding thing: most lenses will have their "center" at 2 meters, iirc. At least my 28 & 50 Hexanon lenses did.
B-9
Devin Bro
No idea how I've looked over this thread. A great tutorial!
I used a similar method to make a focus tab for my Canon 35/3.2
I used Alumilite mold makers clay, which also can be baked to retain its shape.
I went a few steps further by making a silicone mold out of an easy 2 part RTV mold making rubber sold by Alumilite here in Michigan. It took around 24 hours for the mold to set.
I then used a 2 part plastic mix, also made by Alumilite, with a drop of black dye to mold the final piece. A nice chunk of double sides tape works good.
I have been planning a sort of V2, Ide like to remove the infinity stop on my lens and use the original focus arm/lever to support my focus tab with a small machine screw. I love the practical use of my V1 but I'm ready to go permanent.
Thanks a ton for sharing! I'm going to have to grab some of that "filmo"
For my next project
BMacW
Established
This stuff works really well for making small molds.
http://www.amazon.com/Easy-Mold-Silicone-Molding-Casting/dp/B003CHMZXI
I guess, I could've used the clay to get the right shape, then make a mold from the clay part, pour in hard casting resin or using Alumilite to have a more solid final product.
But since each lens requires a different tab profile... I'm just not gonna bother.
No idea how I've looked over this thread. A great tutorial!
I used a similar method to make a focus tab for my Canon 35/3.2
I used Alumilite mold makers clay, which also can be baked to retain its shape.
I went a few steps further by making a silicone mold out of an easy 2 part RTV mold making rubber sold by Alumilite here in Michigan. It took around 24 hours for the mold to set.
I then used a 2 part plastic mix, also made by Alumilite, with a drop of black dye to mold the final piece. A nice chunk of double sides tape works good.
I have been planning a sort of V2, Ide like to remove the infinity stop on my lens and use the original focus arm/lever to support my focus tab with a small machine screw. I love the practical use of my V1 but I'm ready to go permanent.
Thanks a ton for sharing! I'm going to have to grab some of that "filmo"
For my next project
B-9
Devin Bro
Alumilite sells a similar product. I've always stuck with Alumilite because I think they have a great product, they are a Michigan business, and CS is great.
I use regular air dry clay for small molds also. The Alumilite resin doesn't much mind what you put it in. As long as it won't melt! The curing plastic gets rather hot.
I run through quit a bit of resin, always having some quirky new grip idea or part Ide like to reproduce. I've almost got more money into my molds than I do Leicas.
The price of having a tinkering heart.
Rogier
Rogier Willems
Great subject for a 3D printer!
séamuis
Established
BMacW
Established
Update
Update
I want to update everyone here.
I sold a few lenses which I had to remove the tab.
The tab can be removed very easily, if you just move the tab off angle. (tilting it forward and back on the narrow side)
Every came off clean. No marks no paint loss.
Update
I want to update everyone here.
I sold a few lenses which I had to remove the tab.
The tab can be removed very easily, if you just move the tab off angle. (tilting it forward and back on the narrow side)
Every came off clean. No marks no paint loss.
Share:
-
This site uses cookies to help personalise content, tailor your experience and to keep you logged in if you register.
By continuing to use this site, you are consenting to our use of cookies.