
johannielscom
Snorting silver salts
Godfrey
somewhat colored
The choice/use of borders is always a rendering/post-op kind of thing:
I've used several different conventions for the bulk of photos I present on the web over the couple of decades I've been posting photos on line. My current convention is to use a drop shadow effect surrounded by white border space so as to establish the boundaries of the photograph as separate from the backdrop and provide eye relief. And since I do squares as well as both horizontal and vertical oriented rectangular photos, I often "float" the image in a square field if there are mixed orientations in a set. Example:

Surreptitious Listening - Santa Clara 2021
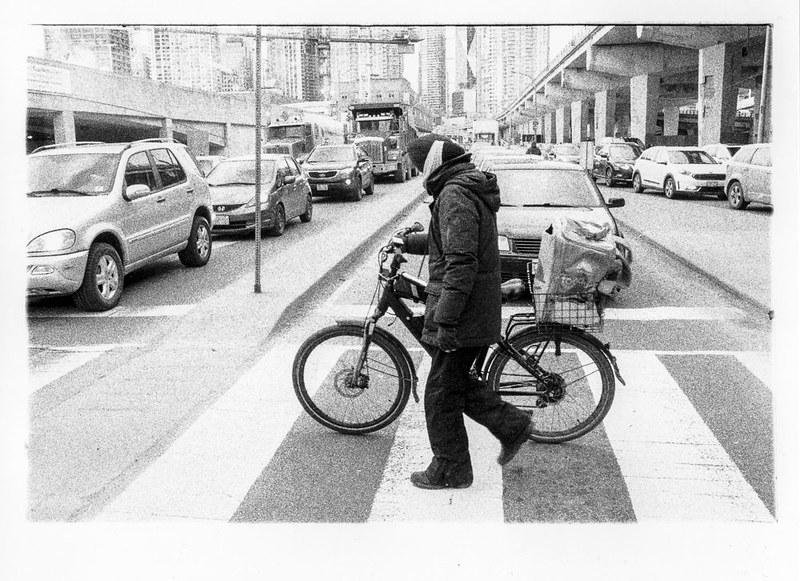
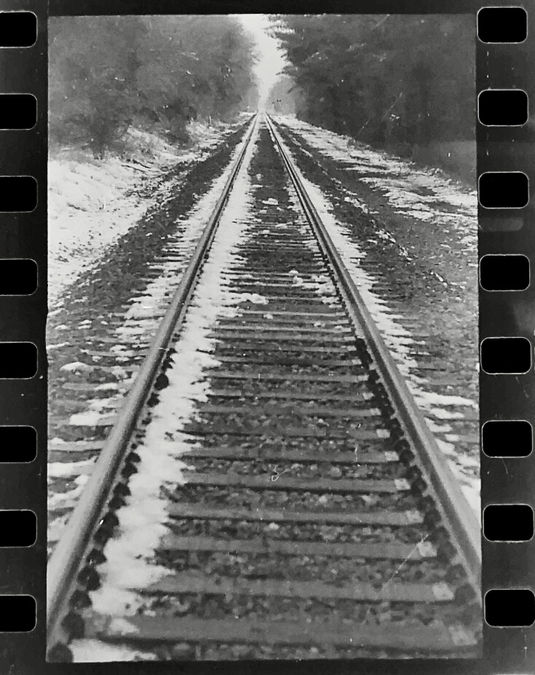
But that's not the only presentation style I use. There are times when I like border effects of a different nature, and even to show the film rebate or print surround of the original capture, as suits my intent or the purpose of the photo ... to wit:

tree - Santa Clara 2021

His Name Is "V" - Santa Clara 2021
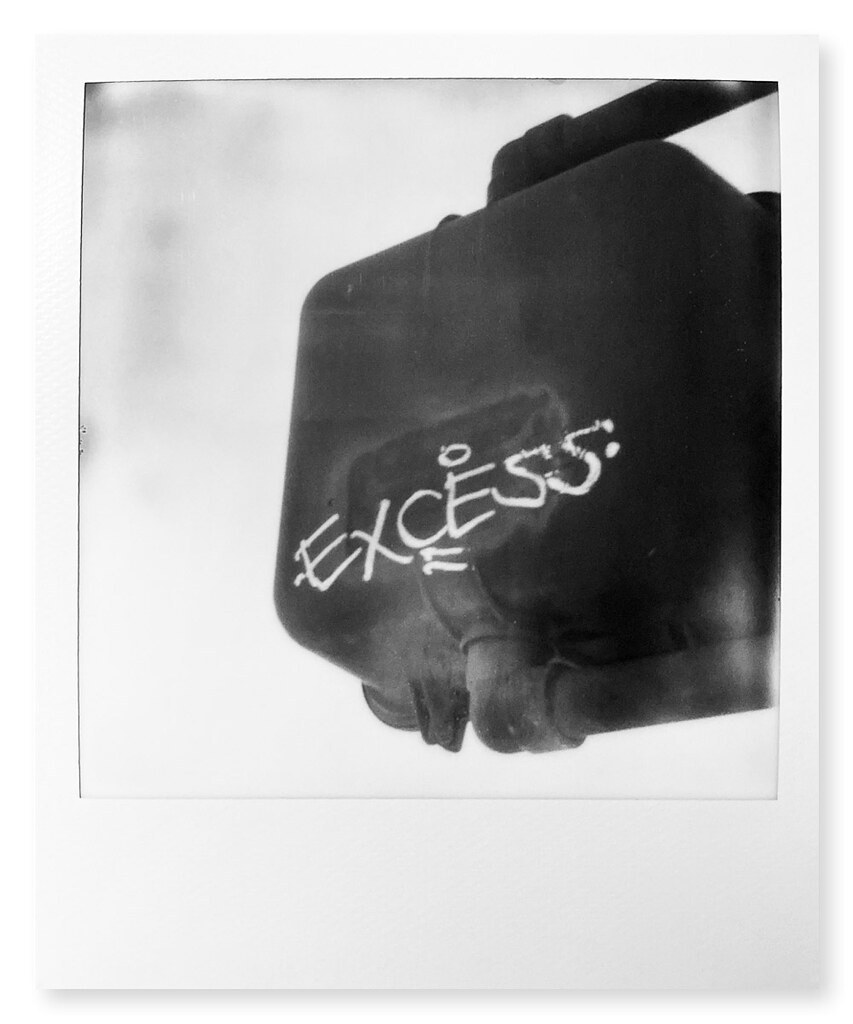
Excess - Santa Clara 2020
So, in essence, it's my opinion that one should establish conventions for when they make your intent easier to render and articulate what you want to be significant in a photograph, but to also not to be too dogmatic about it and use whatever alternative bordering makes sense for the photograph or series at hand.
One thing I do notice is that there is a tendency, when you use a border or surround on a photograph you post on line, for people to comment more on the content of the photo, and, when you don't, you see more comments related to technical aspects of the photo in question (exposure, sharpness, contrast, etc). I conjecture that there's a psychological weight given to the fact that the photographer has applied a border which somehow indicates looking at it that there was intent involved in 'the photo as a whole' that is somehow less significant when no border is there.
For prints, the choice of border treatments also has to align with notions of how you intend to frame or otherwise present a photo. I don't normally sell prints with mats because I find that most of the buyers I've sold to enjoy the process of working with a framing shop to establish how they want some set of photographs matted and framed to suit the decor of where they want to present them—it's less expensive and easier to just sell the print, usually with a minimal or no border effect in that case, and print with enough paper rebate so that the buyer can choose to mat and frame to suit their presentation needs rather than my intent. Of course, I've also participated in exhibition sales of "finished", matted or matted&framed prints. That depends on the venue, the intent of the work, and the conventions of the exhibition.
No simple answer really suits all of this, eh?

G
- I don't always frame to the edges of a film camera's negative borders to give the "natural" look to the photo's edge.
- Digital captures are always essentially lifelessly bordered ... the image area just stops.
- Mixing different kinds of border treatments in a set of photos assembled around a theme can be jarring, or can have meaning and intent.
I've used several different conventions for the bulk of photos I present on the web over the couple of decades I've been posting photos on line. My current convention is to use a drop shadow effect surrounded by white border space so as to establish the boundaries of the photograph as separate from the backdrop and provide eye relief. And since I do squares as well as both horizontal and vertical oriented rectangular photos, I often "float" the image in a square field if there are mixed orientations in a set. Example:
Surreptitious Listening - Santa Clara 2021
But that's not the only presentation style I use. There are times when I like border effects of a different nature, and even to show the film rebate or print surround of the original capture, as suits my intent or the purpose of the photo ... to wit:
tree - Santa Clara 2021
His Name Is "V" - Santa Clara 2021
Excess - Santa Clara 2020
So, in essence, it's my opinion that one should establish conventions for when they make your intent easier to render and articulate what you want to be significant in a photograph, but to also not to be too dogmatic about it and use whatever alternative bordering makes sense for the photograph or series at hand.
One thing I do notice is that there is a tendency, when you use a border or surround on a photograph you post on line, for people to comment more on the content of the photo, and, when you don't, you see more comments related to technical aspects of the photo in question (exposure, sharpness, contrast, etc). I conjecture that there's a psychological weight given to the fact that the photographer has applied a border which somehow indicates looking at it that there was intent involved in 'the photo as a whole' that is somehow less significant when no border is there.
For prints, the choice of border treatments also has to align with notions of how you intend to frame or otherwise present a photo. I don't normally sell prints with mats because I find that most of the buyers I've sold to enjoy the process of working with a framing shop to establish how they want some set of photographs matted and framed to suit the decor of where they want to present them—it's less expensive and easier to just sell the print, usually with a minimal or no border effect in that case, and print with enough paper rebate so that the buyer can choose to mat and frame to suit their presentation needs rather than my intent. Of course, I've also participated in exhibition sales of "finished", matted or matted&framed prints. That depends on the venue, the intent of the work, and the conventions of the exhibition.
No simple answer really suits all of this, eh?
G
twvancamp
Thom
Lovely response, Godfrey! The photo of the flower illustrates especially well how a border can be well matched to the image.
And I think you're right about the border changing how the image is received. For a certain crowd on Instagram, showing the film/rebate border definitely leads to a different kind of reception.
And I think you're right about the border changing how the image is received. For a certain crowd on Instagram, showing the film/rebate border definitely leads to a different kind of reception.
Ko.Fe.
Lenses 35/21 Gears 46/20
I went to see George Zimbel prints by himself in Montreal Museum of fine arts. Printed under his old Focomat.
He basically gives no crap.
https://youtu.be/z3Qj13tfW5A?t=18
I'm following him on this.
He basically gives no crap.
https://youtu.be/z3Qj13tfW5A?t=18
I'm following him on this.
G
Guest
Guest
I agree with retinax that we should differentiate between prints and scans. Personally I don't believe a print is finished until it is mounted, and I only sell mounted prints. I float mount with a 3/8"-1/2" distance to the overmat and typically use the same dimensions as Bruce Barnbaum suggests for mat size

Flickr
You have a couple of damn nice prints there, fit for the wall of any decent photographic connoisseur.
My Omega enlarger film carriers do not permit me to print any of the negative borders of either my 6x6 or 6x9 negatives, they are very accurately made.
So when I cut the top mat, it is ever so slightly smaller than the print. And I give a significant border to make the print stand out, like in these beautiful examples above.
Ambro51
Collector/Photographer
Since Film is Retro and Cool,, I’m going to show the sprockets!
Andrea Taurisano
il cimento
Since Film is Retro and Cool, I’m going to show the sprockets!
Wonderful and hypnotic perspective. I love it in its simplicity, made even cooler by the vintage print look.
Swift1
Mentor
To me, the jpegs and scans that I share online are essentially a digital print, and so I usually add a white border to give it the look of a paper print where the image has been printed smaller than the paper size. With scans, if it works out, I may leave the unexposed film border and then add the white border.
Here are a few examples...
Here are a few examples...


twvancamp
Thom
I enjoy catching the frames where the light goes past the border of the negative.

Pál_K
Cameras. I has it.
Now I feel sad that digital images do not have a natural physical border such as film does.
Therefore, whenever I post a digital image I will now re-photograph it with the frame of my monitor screen as a border.

I can even do this with phone photos!
Therefore, whenever I post a digital image I will now re-photograph it with the frame of my monitor screen as a border.
I can even do this with phone photos!
Attachments

Deardorff38
Mentor
Pal, No need to go to the extra trouble on our account. They already show up like that

Flickr
Flickr
Ambro51
Collector/Photographer
When I shot a lot of Wet Plate, I printed the images simply centering the glass plate and printing. It leaves a bright border on the edge of the plate, plus all the collodion artifact folks seem to love.0
das
Well-known
I enjoy the simple white border like Deardoff has on those prints above. Classic and elegant. The only issue is when the white from the sky or other parts of the frame bleed into the white border. That is a little trickier and a black border can look nice sometimes.
Nokton48
Mentor
 Kingswood Gardens Hassy 30mm Distagon Fisheye 1 by Nokton48, on Flickr
 Minolta Autocord FP4+ ADOX Borax MQ 2 by Nokton48, on Flickr
 Auto Makiflex 21cm f4.5 Heliar 120 6x9 Maki Back 1 by Nokton48, on Flickr
It depends and does vary. Recently I have been favoring showing out to the edges of the neg carrier with white borders (I like SpeedEasels). Sometimes borderless looks better
swatch
Established
May I ask which software you folks use to add border to your picture before post for online sharing? There are a few online free software do this nevertheless the picture clarity decrease or resolution drop when viewing on screen. Thanks in advance for your suggestion.
I use a Mac shareware program called GraphicConverter, for borders in conjunction with resizing Lightroom TIFF output. Pretty powerful app.
Erik van Straten
Mentor
I simply print the whole frame and mask it with the easel so a small black border around the picture arises. The border of every camera is different, so I always know wich one I've used.
gelatin silver print (heliar 50mm f1.5) leica mp
Erik.

gelatin silver print (heliar 50mm f1.5) leica mp
Erik.
DennisM
Established
Perhaps not addressing the thrust of the original post, but does anyone know how to generate a narrow black border adjacent to the image and next to the white border in Light Room?
JohnWolf
Well-known
Perhaps not addressing the thrust of the original post, but does anyone know how to generate a narrow black border adjacent to the image and next to the white border in Light Room?
Hi Dennis. The Export function does not provide for a border, but you can do it in the Print module and output as jpg. Below is an example. Once you get what you want, save it as a print preset.
John


swatch
Established
Hi Dennis. The Export function does not provide for a border, but you can do it in the Print module and output as jpg. Below is an example. Once you get what you want, save it as a print preset.
John
Hi John,
Thank you for the tips
Share:
-
This site uses cookies to help personalise content, tailor your experience and to keep you logged in if you register.
By continuing to use this site, you are consenting to our use of cookies.