newst
Well-known
For bottom loading get yourself an inexpensive plastic cutting template generally available on ebay for around $20 USD. If you do 3D printing or have access to it there are online files to produce your own. Once I decided to take the plunge I discovered the process is easy, the template and an xacto style blade and you're there. One loading tip, once you have the film loaded don't forget to rewind the film slightly to take up the slack. That simple step will prevent a lot of possible problems.
neal3k
Well-known
A few years ago, I went on You Tube, watched a simple bottom loading video that showed freehand cutting of the leader. 200 rolls later, I still love it. Two things I do, after snapping in the cannister and take up reel, I carefully turn the rewind winder until the film is taut. Then I flip the wind/rewind lever and turn the wind knob until I see the leader starts to take up. I close the bottom and start winding and the rewind knob immediately rotates to show me all is well. After a wind or two, depending on whether I want a loading flash on the first frame, I set the counter.
I measure the leader from the edge of the camera to the middle of the viewfinder to see where to start my cut and don't cut through a sprocket hole. When I'm bulk loading, I have the measurement for the leader marked on my computer keyboard.
I measure the leader from the edge of the camera to the middle of the viewfinder to see where to start my cut and don't cut through a sprocket hole. When I'm bulk loading, I have the measurement for the leader marked on my computer keyboard.
Coldkennels
Barnack-toting Brit.
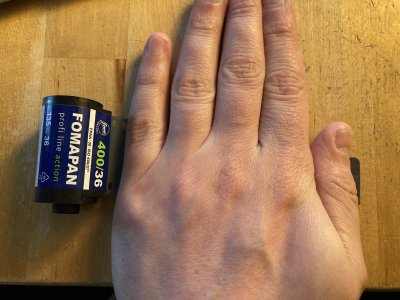
Here's my process; first, obtain film:Are there any advice points on bottom film loading. As I don't home process now since E6 home kits went away,with the cost of film and lab processing messing up a film at the loading stage would be a concern.

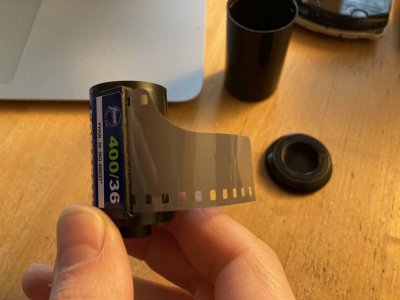
Pull out enough from the canister that I can comfortably fit the width of my hand on it:

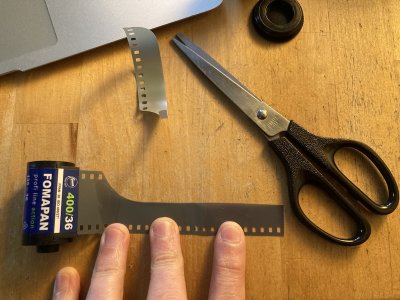
Freehand cut a half-thickness leader that then curves up smoothly and exits between sprocket holes:

It's really no more complicated than that, and should only take ten seconds, max. As long it's long enough and there's no hesitation marks or tearing in the new leader - and you don't come out through a sprocket hole - you can't really go wrong.
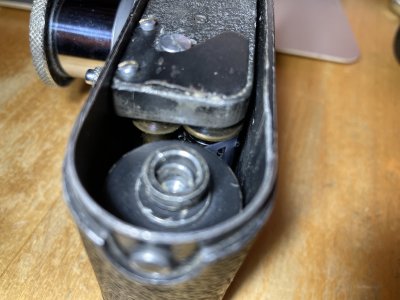
Once you get to the loading point, the crucial bit is to make sure the sprocket holes have engaged with the teeth in the film advance mechanism:

It's more awkward to photograph than it is to see!
Some of my bottom-loaders have a bit of a dodgy take-up spool that doesn't seem to align the film very well with the sprockets at first; usually rewinding the slack film in the canister to pull the film taut is enough to make the sprocket holes locate correctly. It's rare it takes me more than a couple of seconds to reload a Barnack now. People baulk at how "difficult" the process is, but I find it much more reliable and foolproof than most "easy" mechanisms for loading cameras. You've just got to know how to do it properly.
The only real thing that can complicate things is that very early bottom loaders (pre-war Leicas, some early Leica IIIfs, presumably pre-war FEDs) don't hold the film in the correct position so you end up with the sprocket holes impeding on the image area. The solution for that (short of using a later bottom-loader) is to either use the correct cassettes or shim the baseplate. I doubt you're going to run into this problem with any Canon or any of the later Soviet cameras, though.
santino
FSU gear head
I just use the scissors of my swiss army knife, it works like a charm. No measuring, no nothing and no problems. Zorki 1 would be my favourite.
Share:

