
narsuitus
Well-known
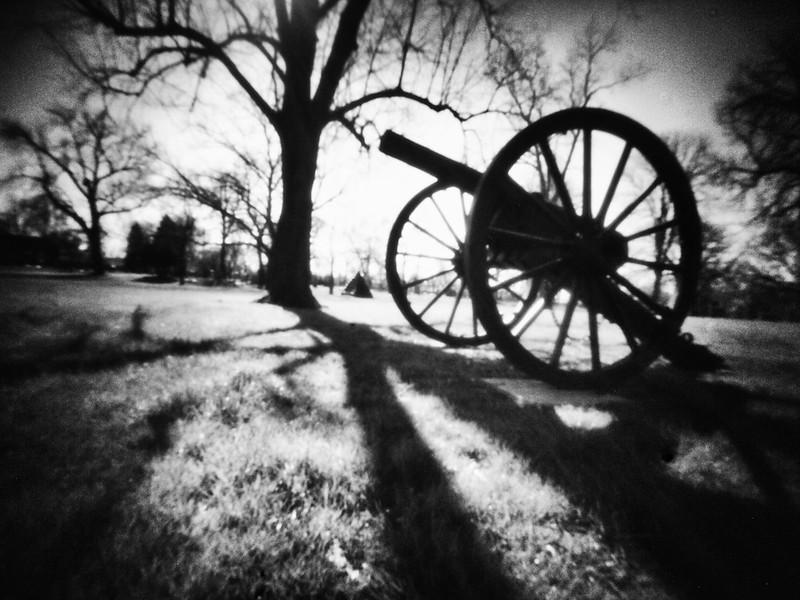
Cannon Pinhole Image by Narsuitus, on Flickr
4/24/2016
Partly sunny day
ISO 400
Tripod mounted Olympus E-P1 micro 4/3 digital camera
Wanderlust pinhole body cap
11mm sensor to pinhole distance
0.14mm pinhole diameter (f/180 effective f/stop)
1/2 second shutter speed
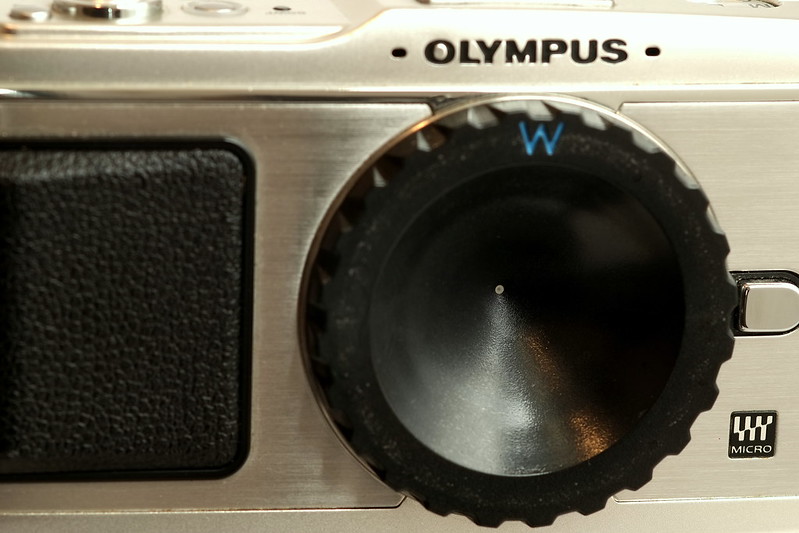
Olympus Pinhole Camera by Narsuitus, on Flickr
Ezzie
E. D. Russell Roberts
My WPPD contribution
My contribution
I find the irony of children clambering over these naval cannon turrets quite pleasing. The naval museum is next door (same building) to the national photography museum. The latter hosting the children's photography day, coinciding with WPPD. My kids got to take pinhole pictures, develop negs and make contact prints. They had a ball of a time. So did I.
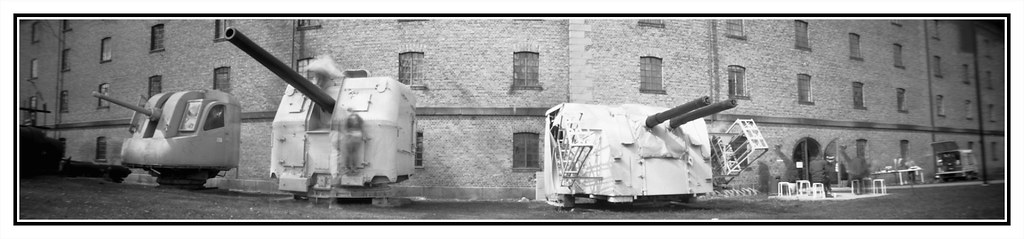
Peaceful cannons by Eirik Russell Roberts, on Flickr
Shot with this DIY effort, a 6x24 curved plane pinhole camera. Due to constraints with regards to the depth of the case, the curve is not semicircular, rather more elliptical, meaning that there is some vignetting towards the edges, but I rather think a pinhole image should have that sort of look anyhow.
The camera
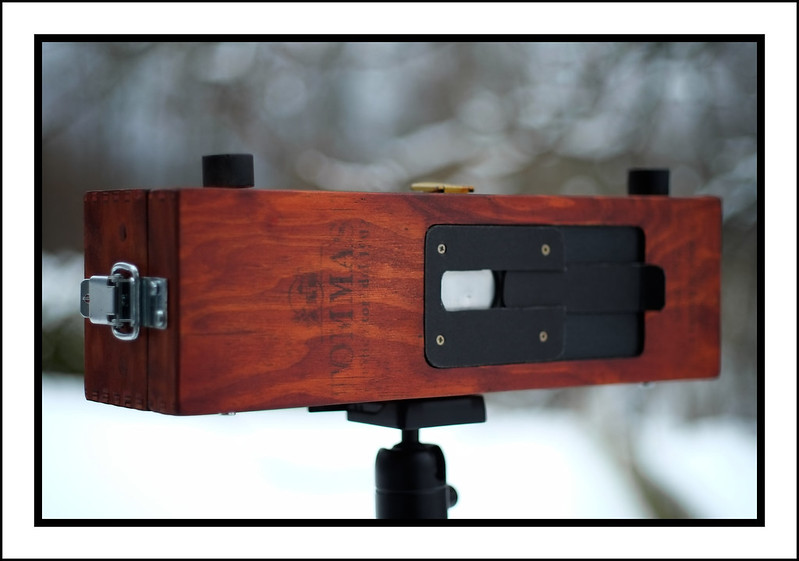 6x24 Pinhole by Eirik Russell Roberts, on Flickr
Build info: http://www.filmwasters.com/forum/index.php?topic=6870
My contribution
I find the irony of children clambering over these naval cannon turrets quite pleasing. The naval museum is next door (same building) to the national photography museum. The latter hosting the children's photography day, coinciding with WPPD. My kids got to take pinhole pictures, develop negs and make contact prints. They had a ball of a time. So did I.
Peaceful cannons by Eirik Russell Roberts, on Flickr
Shot with this DIY effort, a 6x24 curved plane pinhole camera. Due to constraints with regards to the depth of the case, the curve is not semicircular, rather more elliptical, meaning that there is some vignetting towards the edges, but I rather think a pinhole image should have that sort of look anyhow.
The camera
6x24 Pinhole by Eirik Russell Roberts, on FlickrBuild info: http://www.filmwasters.com/forum/index.php?topic=6870
zuiko85
Mentor
Question for Joe V;
How do you make your pinholes? I'm blown away by the detail in the VLA pictures. While I know that for many pinhole users detail and resolution are not priority concerns I think it would be nice to maximize that quality in a 4X5 format. At least for myself I'd like to see a little more detail in my own 4X5 shots on photo paper.
How do you make your pinholes? I'm blown away by the detail in the VLA pictures. While I know that for many pinhole users detail and resolution are not priority concerns I think it would be nice to maximize that quality in a 4X5 format. At least for myself I'd like to see a little more detail in my own 4X5 shots on photo paper.
JoeV
Thin Air, Bright Sun
@Zuiko85: Thanks for the compliment.
I use 2mil (.002" thick) sheet brass. I make a small, round dimple in the brass using a metal punch with a rounded (i.e. not sharp) tip. The center of the dimple will be much thinner than the rest of the sheet. You don't yet want a hole in the dimple.
Then, with dimple side pointing down, i press while rotating the tip of a thin sewing needle into the center of the dimple, just enough to make an even smaller dimple in the middle of the larger dimple.
Then use a careful, circular sanding motion and very little pressure against a sheet of 400-600 grit emory paper, dimple side down. Just to sand off the smaller dimple and form a narrow hole maybe 1/10 mm wide. Continue to sand, to widen the hole a bit, and make the edges of the hole thinner and sharper.
Then inspect under a loupe and carefully clean up the hole with the very tip of the sewing needle, if needed. You want a very uniformly circular hole with no burrs or other oddities, at the optimal size for your camera's focal length.
To measure the diameter, place the piece of brass behind a millimeter scale, with half the pinhole showing along the edge of the scale. Backlight the pinhole if needed. Then use your loupe and line up the left edge of the pinhole with a millimeter mark and estimate how many diameters will fit into 1 millimeter.
If you're targeting a specific diameter for a specific camera focal length, start with the hole smaller than needed and continue to sand against the emory, clean up the hole with the tip of the needle and inspect/measure until you get the right size.
Also, for sharper images use a larger film/paper format size; the images you mentioned were 4"-by-5" format. But too large of a format results in diminishing returns, since for a larger format the focal length, and optimal f-ratio, will be bigger, requiring extended exposure times, reciprocity failure and potential camera shake-induced blurring. I find 5"-by-7" is a pretty optimal format size.
~Joe
JoeV
Thin Air, Bright Sun
@Zuoko85: Another way to improve paper images is to pre-flash the paper.
For paper negatives I give it a slight, uniform exposure in the darkroom before loading into the camera or film holders, enough to render a very slight, off-white tone to the otherwise unexposed paper if it were developed without any additional exposure.
For paper negatives I like using grade 2 RC paper instead of multigrade paper, so the contrast isn't effected by the blue/IV of daylight.
For Harman DPP paper, I give it a pre-flash that's about half of that given to negative paper, enough to raise the darkest shadows in the image ever so slightly above unexposed paper black. I also rate this paper at ISO 8, and develop with liquid concentrate at 1+10 dilution for 3 minutes. I don't reuse developer for the Harman paper, but mix fresh each time; I'm using small quantities (100mL or so) in a Jobo tank.
~Joe
zuiko85
Mentor
Thanks Joe, I have tried the dimple method but I think my dimple, made with the head of a 1/4-20 carriage bolt, sanded smooth with finer grades, up to 1500 grit and then polished to a mirror finish with tooth paste. It think that set up makes too broad and shallow a dimple. I'll try a smaller diameter dimple. Also I've been using .005 in brass, I'll obtain some thinner stock. Funny you mention 5X7, that is the next size up I was going to build. I saw your falling plate design and it looks to be a good option. I've never cared for the fall off on ultra wide pinhole and usually opt for FL that produce a angle of view no wider than 70 degrees.
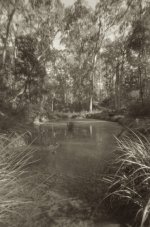
Swift1
Mentor

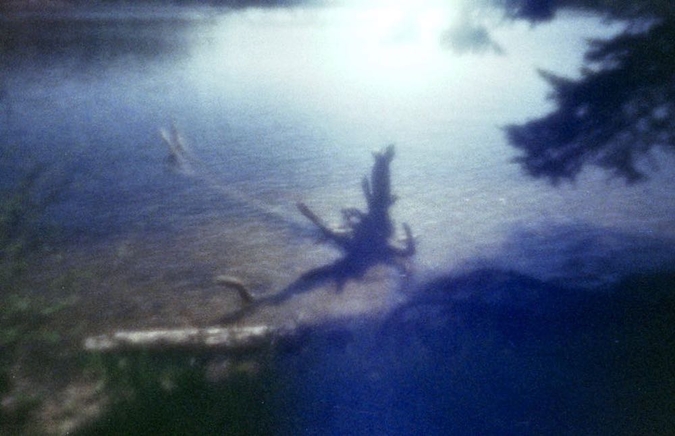
Lithia Park Fountain by Colton Allen, on Flickr
Innova 6x9 Pinhole Camera
Expired Fuji Reala @ISO25
Epson V500
narsuitus
Well-known
Pinhole Cameras by Narsuitus, on Flickr
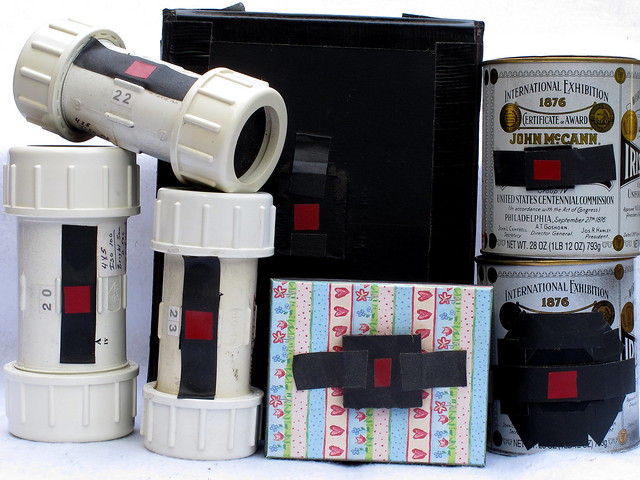
My pinhole cameras include 4x5 inch single-shot curved film plane sheet film cameras that I made from oatmeal cans and PVC pipes, 4x5 inch single-shot flat film plane sheet film cameras that I made from cardboard boxes, and an 8x10 inch single-shot flat film plane sheet film camera that I made from foam board.
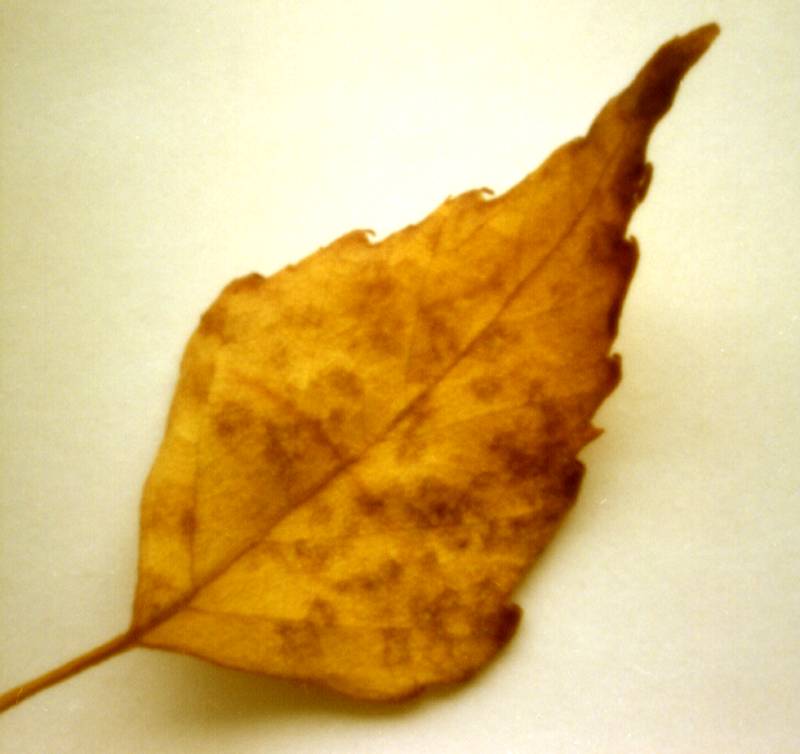
Pinhole image by Narsuitus, on Flickr
Image made with Pringles can pinhole camera
Curved film plane
3-inch (approximately 73mm) pinhole to film plane distance
f/256 approximate f/stop
4-minute approximate exposure time in shaded overcast early morning sunlight
4x5 inch, ISO 100, Fomapan B&W film
Alfasud
Old Toys
photony texas
Light Sensitive
petronius
Mentor
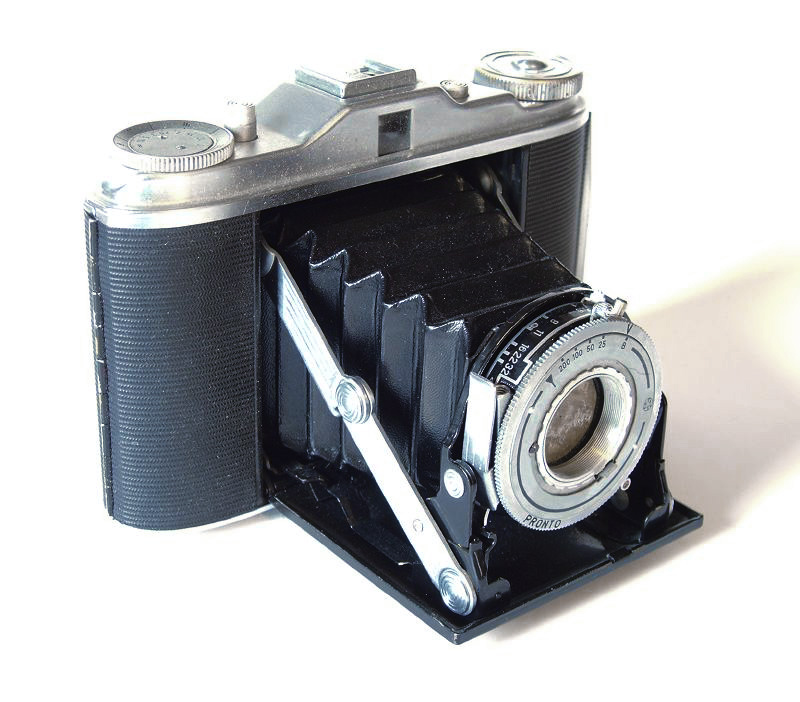
Agfa Isolette with selfmade brass pinhole

Ricoh
Well-known
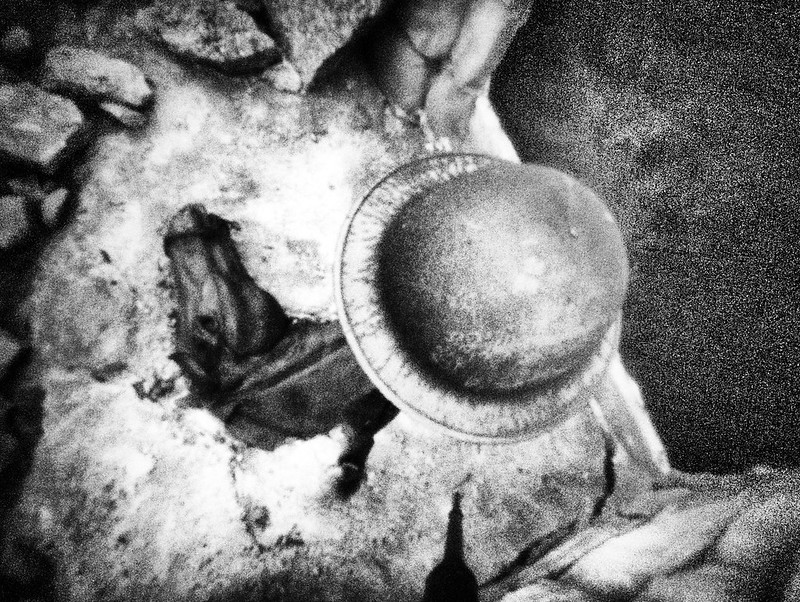
New to the digital pinhole photography - only had the m4/3 Skink a few days. The first of the images was post processed in LR, the second and third had some additional SFX love ") All 16mm f/90
All 16mm f/90
 In Loving Memory Of by -Steve Ricoh-
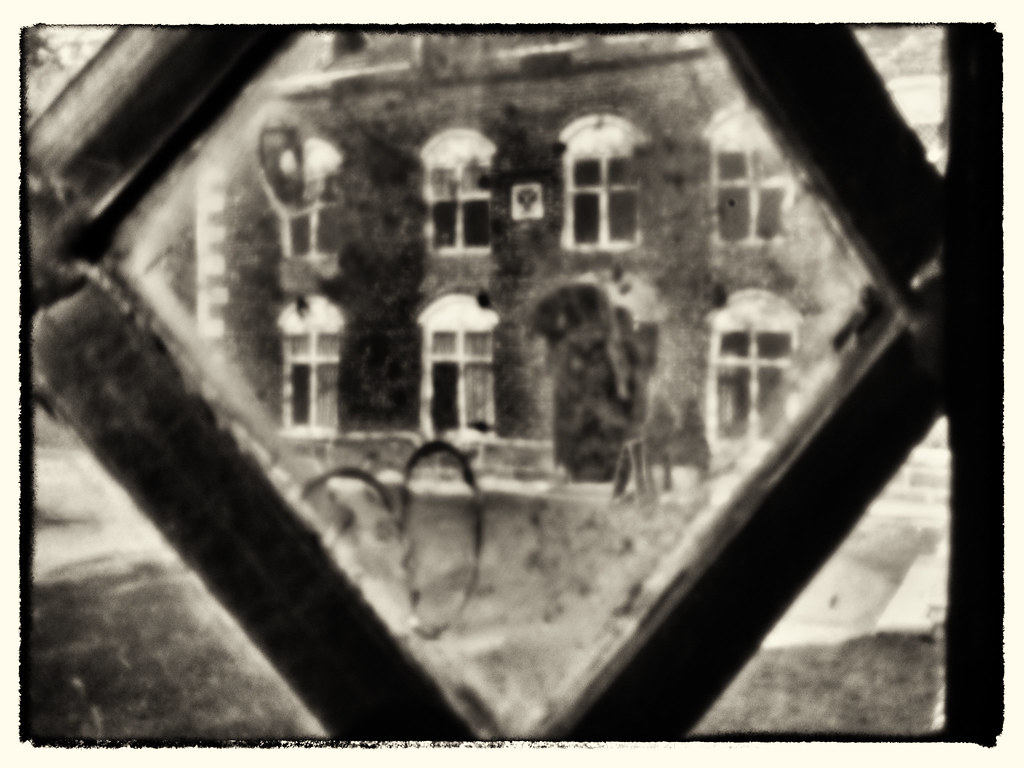 Rufford Old Hall by -Steve Ricoh-
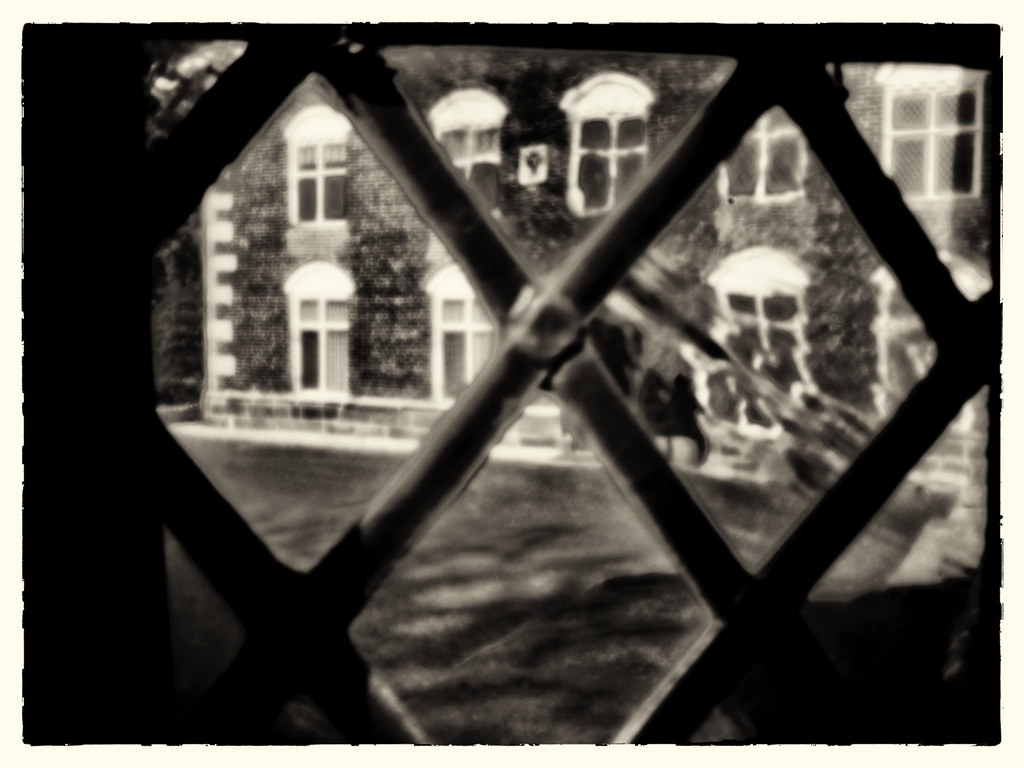 Rufford Old Hall by -Steve Ricoh-
All 16mm f/90In Loving Memory Of by -Steve Ricoh-Rufford Old Hall by -Steve Ricoh-Rufford Old Hall by -Steve Ricoh-JoeV
Thin Air, Bright Sun
New to the digital pinhole photography - only had the m4/3 Skink a few days. The first of the images was post processed in LR, the second and third had some additional SFX love
I love these, well done. I haven't used my Pinwide body cap for m-4/3 in some time, I'll have to get back to doing so.
~Joe
narsuitus
Well-known
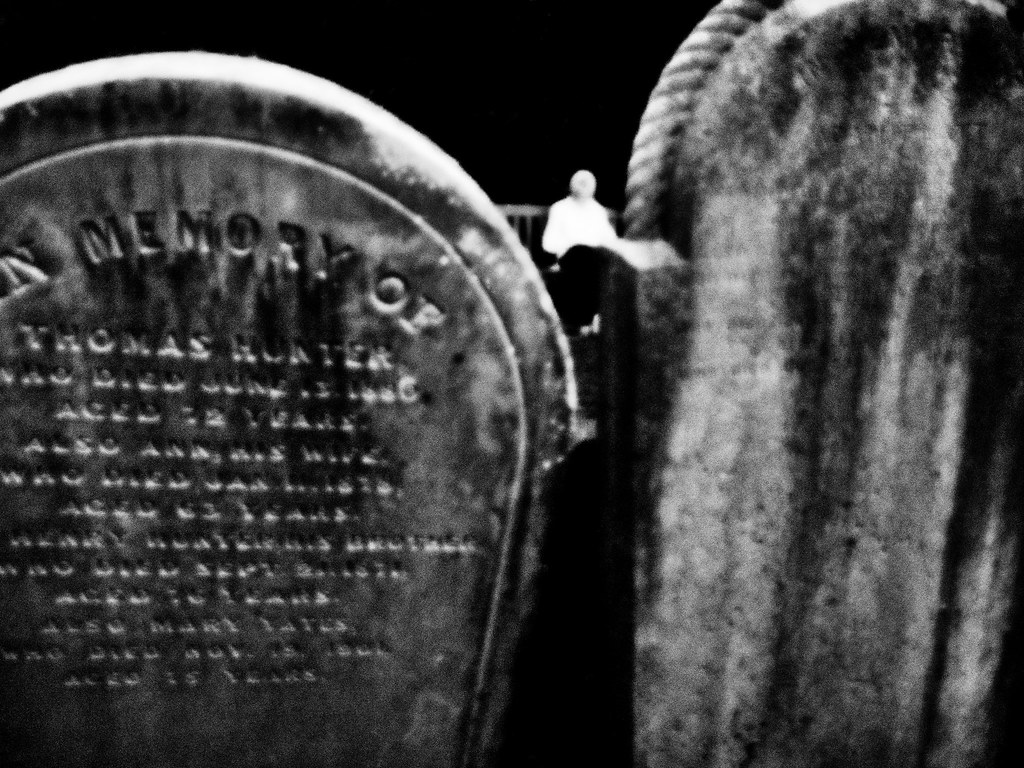
Veterians Memorial by Narsuitus, on Flickr
Brodie Helmet & Horse Head
Munster, Indiana
Olympus Pinhole Camera
4/29/2018
Partly sunny day
ISO 400
Tripod mounted Olympus E-P1 micro 4/3 digital camera
Wanderlust pinhole body cap
11mm sensor to pinhole distance
0.14mm pinhole diameter (f/180 effective f/stop)
1/2 second shutter speed
Shot for the Worldwide Pinhole Photography Day on the last Sunday in April
Ricoh
Well-known
Thank you very much. I'm really enjoying pinhole photography, albeit with a digital camera. It has helped to dig myself out of a lull, photographically.I love these, well done. I haven't used my Pinwide body cap for m-4/3 in some time, I'll have to get back to doing so.
~Joe
Ricoh
Well-known
Papercut
Well-known
EM5 Skink pinhole
Pinhole (#4) by -Steve Ricoh-
That's wonderful!
I should say I really like the earlier digital pinholes you posted too. "Hall" (shot through the fence) is excellent.
Ricoh
Well-known
Thank you very much Papercut, that's very kind of you!That's wonderful!
I should say I really like the earlier digital pinholes you posted too. "Hall" (shot through the fence) is excellent.
Barry Kirsten
Established
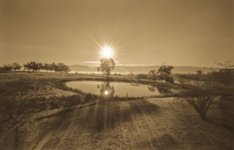
PRJ
Another Day in Paradise

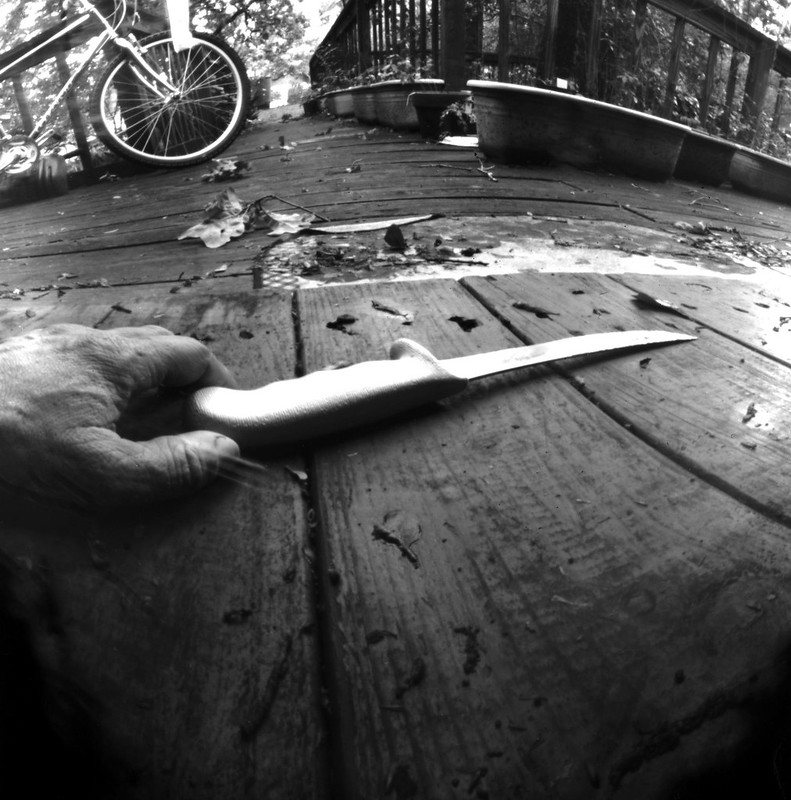
Holga WPC 6x12, Ilford HP5, Pyrocat-PC, IMGIV, Neutol WA
Share:
-
This site uses cookies to help personalise content, tailor your experience and to keep you logged in if you register.
By continuing to use this site, you are consenting to our use of cookies.